Let’s be abundantly clear, I enjoy crafting, it doesn’t necessarily mean I have a natural talent for it.
In other words, my first go at anything is going to be…an adventure to say the least.
Today I attempted Mouse Ears, which in theory should be done with a sewing machine and better materials, BUT this was my first time, and I knew mistakes would be made, so, hang in there with me.
To be clear I can’t call them M*ck*y Ears, because my lawyers said to steer clear of them, so for all intents and purposes these are Mouse Ears, in honor of the pet mouse I have in my classroom.
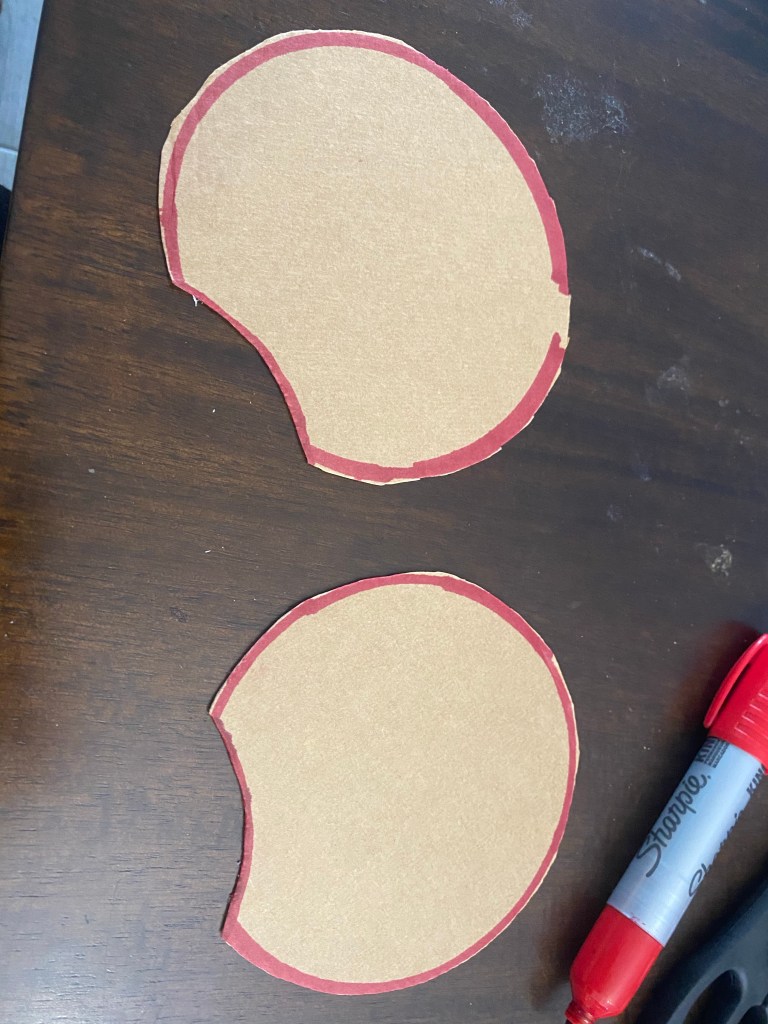
This is the outline of the ears, I used cardboard found on the floor outside, and a large tea cup my cousin gave me at her wedding shower 600 years ago. The sharpie was donated from a teacher who quit the profession.
I’m a child (not really but I’m childish), I know, but those look funny. Anyway, this was my first mistake, or my first two mistakes.
These are supposed to be 5mm thick, they’re 1inch, but it’s what we had on hand so, it’s what we’re working with.
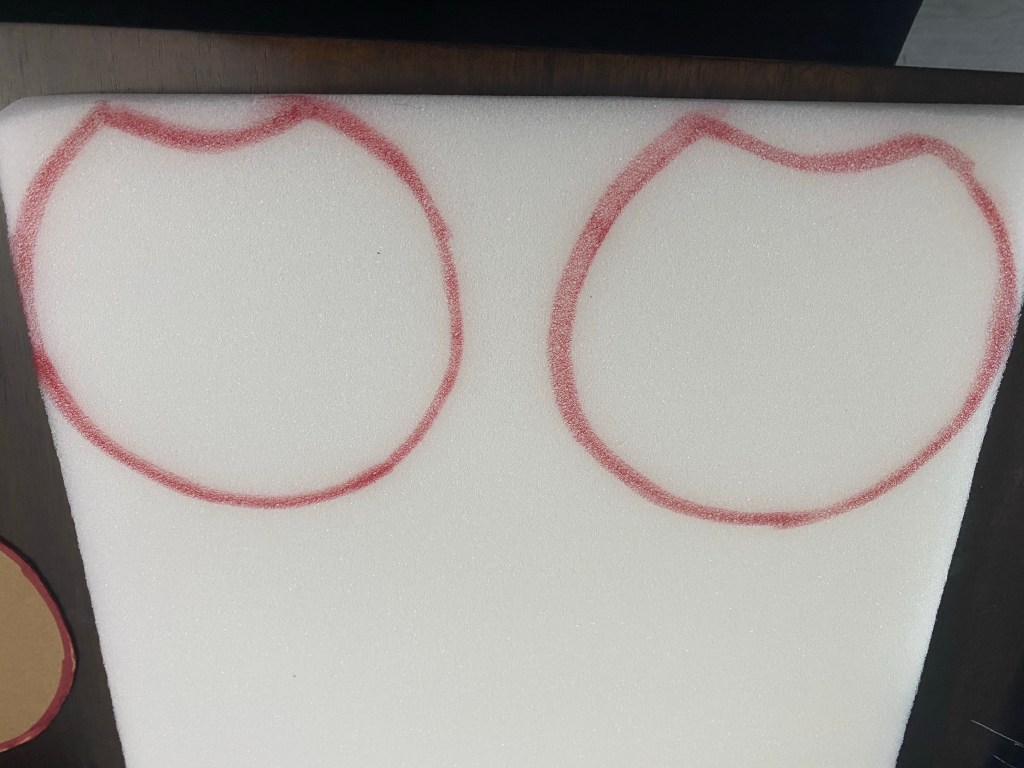
Also, they were supposed to be smaller than the cloth was to be cut out, so they’d fit inside the cloth…obviously hindsight is 20/20.
Also, there definitely has to be an easier way to cut and mark foam, but that’ll be research for another day (should’ve been for TODAY but I was too excited).
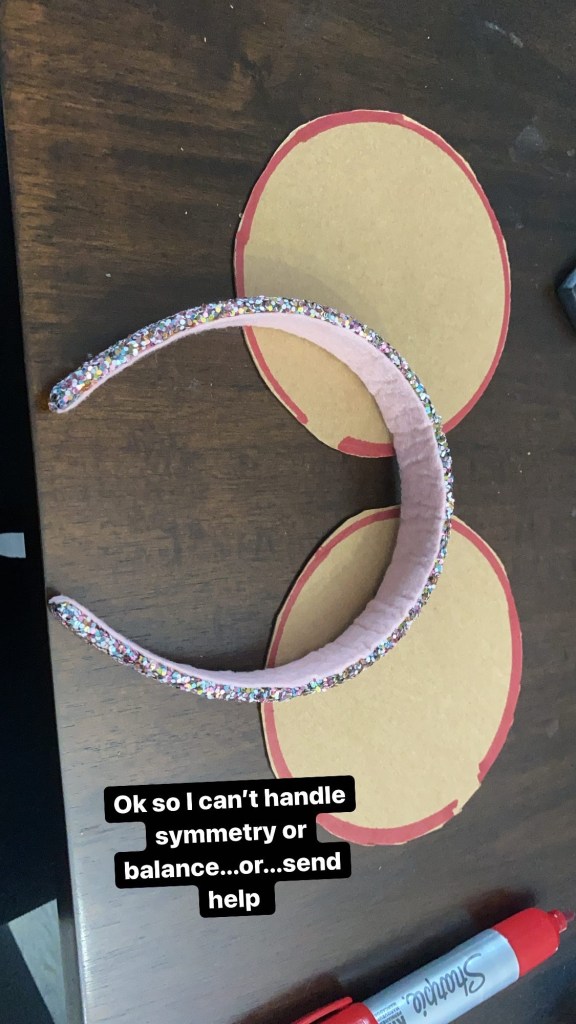
I lined up the ears with the headband, which will end up being the most botched thing I do today.
But hey like that famous saying goes, you gotta botch a few eggs to make scrambled eggs…or uh…

Ear cut out number 1, it’s not round…more flower petals shaped, but that’s like mistake 4 or 5.
Mistake 3 was using liquid stitch instead of a sewing machine, but since we still haven’t gotten a sewing machine, liquid stitch is our best bet.
I used my Cricut (not sponsored by them but I wish) to cut out the images on glitter vinyl, remember when cutting glitter vinyl you have to put it on the card stock setting, cause it’s heavier than usual iron on vinyl.

Then I ironed them onto our “ears”, all things considered at least the Cricut did its job.
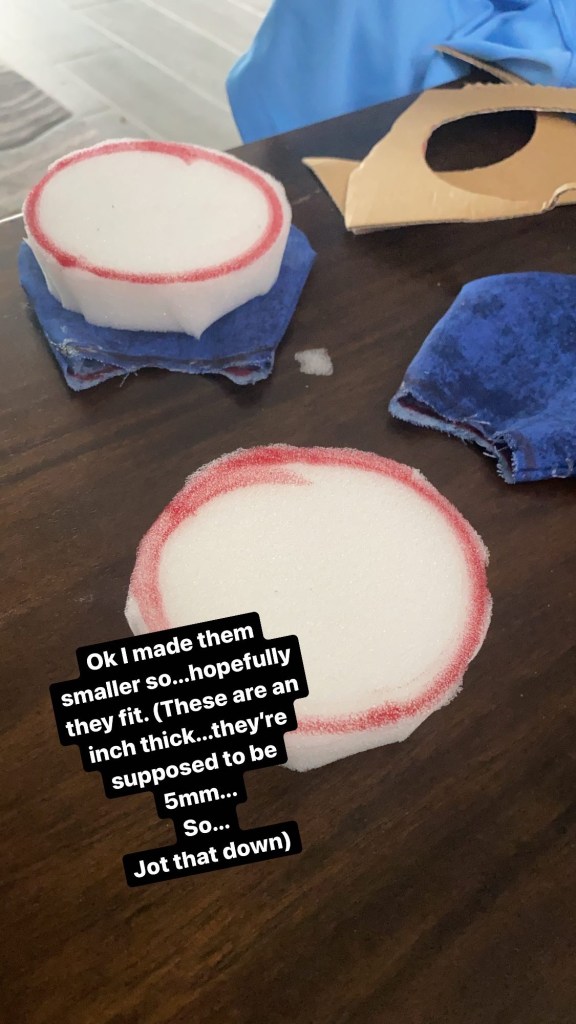
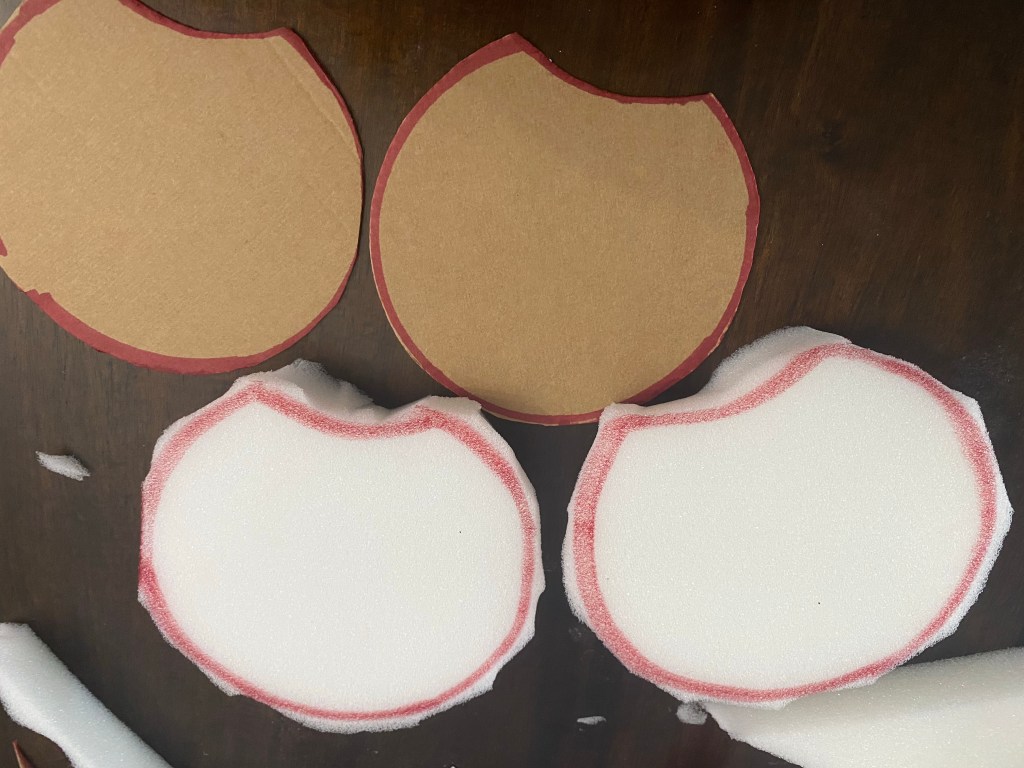
I ended up having to cut smaller circle of foam to fit inside the ears, I used the bottom of the tea cup to make that circle and just trimmed the originals down.
There’s a mess of foam scraps EVERYWHERE, but that’s the price you pay when you’re trying to be crafty.
*glue
So liquid stitch is messy, and seals very quickly, and also is not wood friendly, so…jot that down.
I heard my boyfriend motorcycle coming up the road, and realized how sticky the table was and panicked a little.
He’s fixing my office so I don’t spill into the dining room anymore.

Final product,
things I learned, in no particular order:
1. The head band should have a sleeve made to cover it, so it looks neater instead of rapping it in scraps.
2. Get a sewing machine, or a sewing kit, no more liquid stitch.
3. Glue guns hurt.
4. Thank goodness for the little gold embellishments that hide the imperfections.
5. Follow directions ALL THE WAY THROUGH, I read the instructions on how to make these, but I stopped right after they explain the ear parts, everything else I just sort of figured out as I went (bad idea but it made it more fun though.)
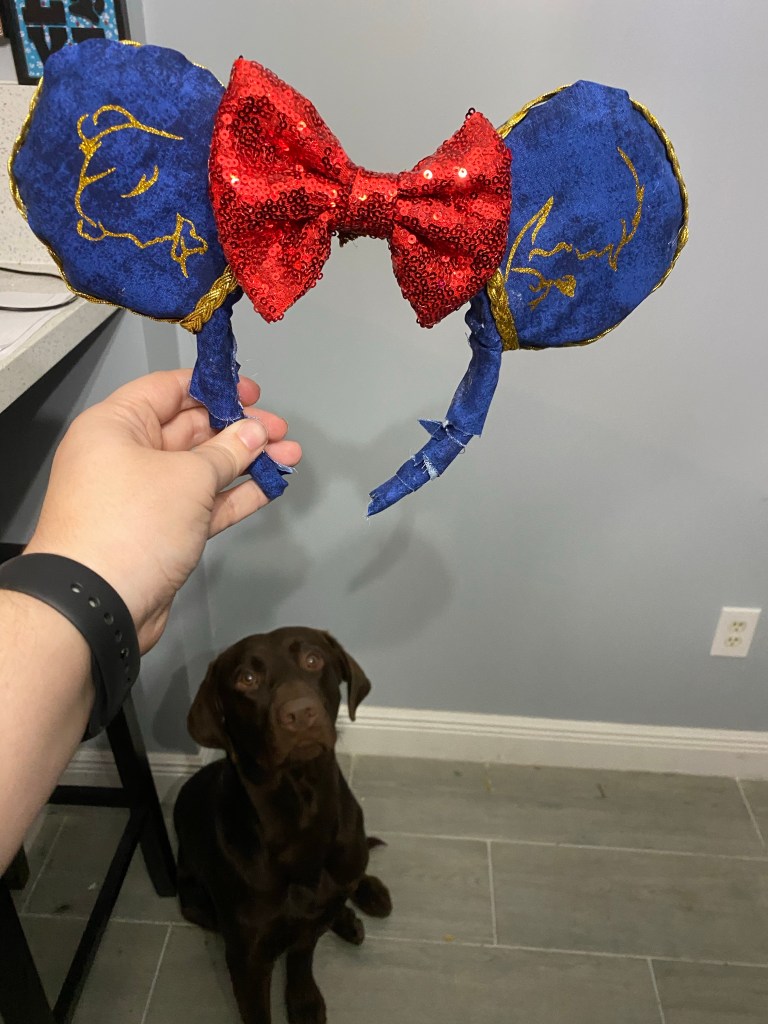
He really thinks I spent all this time working on this, to make him a new toy.

Bandit is not amused.
Thanks for joining us on this little adventure we’d love for you to see more of our mishaps in crafting!
